
August 7, 2020
Constellation Quilt (Part 1: Preparation)
There's something really comforting about quilts. You'll find them in flea markets and thrift shops: stitched together fragments of color like a kaleidescope, complete with the rips and holes that indicate its repeated use. Whenever I see one I can just imagine the care and hours of work that went into it, the hands that passed over it a hundred times during its making. The result is something to be treasured.
Maybe in an attempt to share in those warms feelings, I have decided to make a quilt. Fair warning: I have never made a quilt before and am learning as I go. My quilt isn't going to be a kaleidescope, but a map of the stars. The idea is to embroider the top layer of fabric with the constellations and sew little beads on to represent the stars. Once that is finished, I can sandwich it together with the other layers of cloth and batting, and sew it into a quilt.
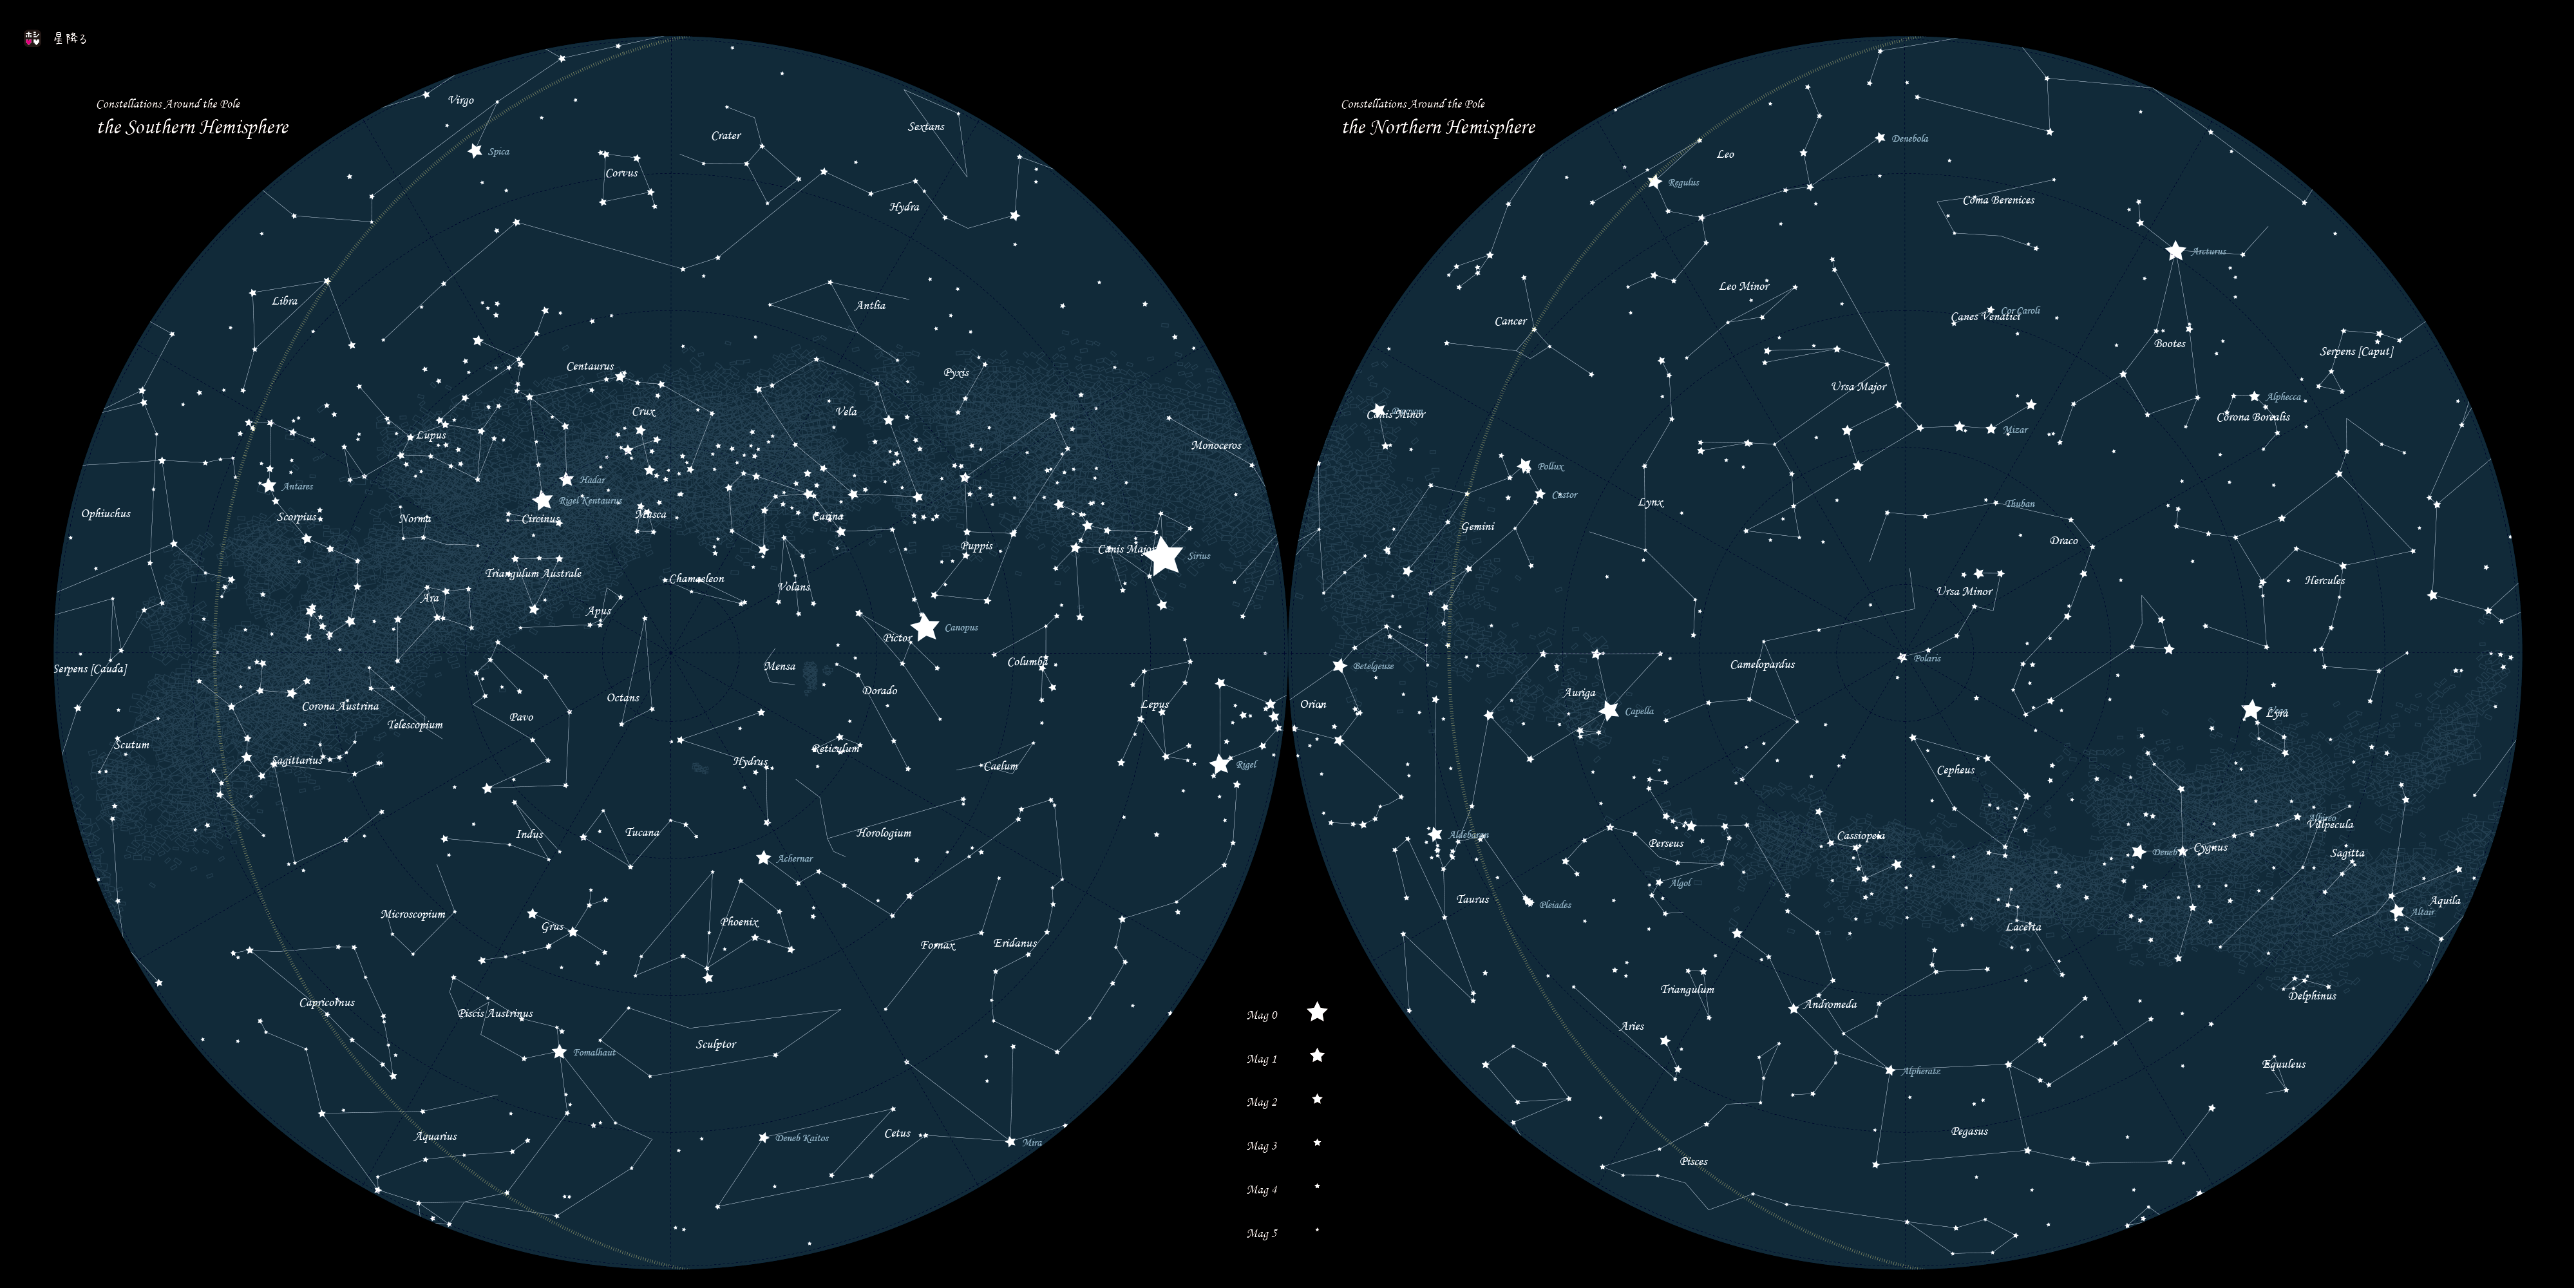
The first challenge was to transfer a map of the stars onto the fabric I'd be embroidering. I've looked online and found that Haptic Lab sells some nice constellation quilt patterns, but I'm decidedly against paying anybody to do something I can do myself. Instead, I found a nice star map online, took it into Pixelmator and made it black and white, and then used Rasterbator to turn it into a tiled PDF. With my embroidery design in PDF format, I was able to run water-soluble sheets of stabilizer (I used the Sulky brand) through my printer and end up with a stick-on embroidery design.
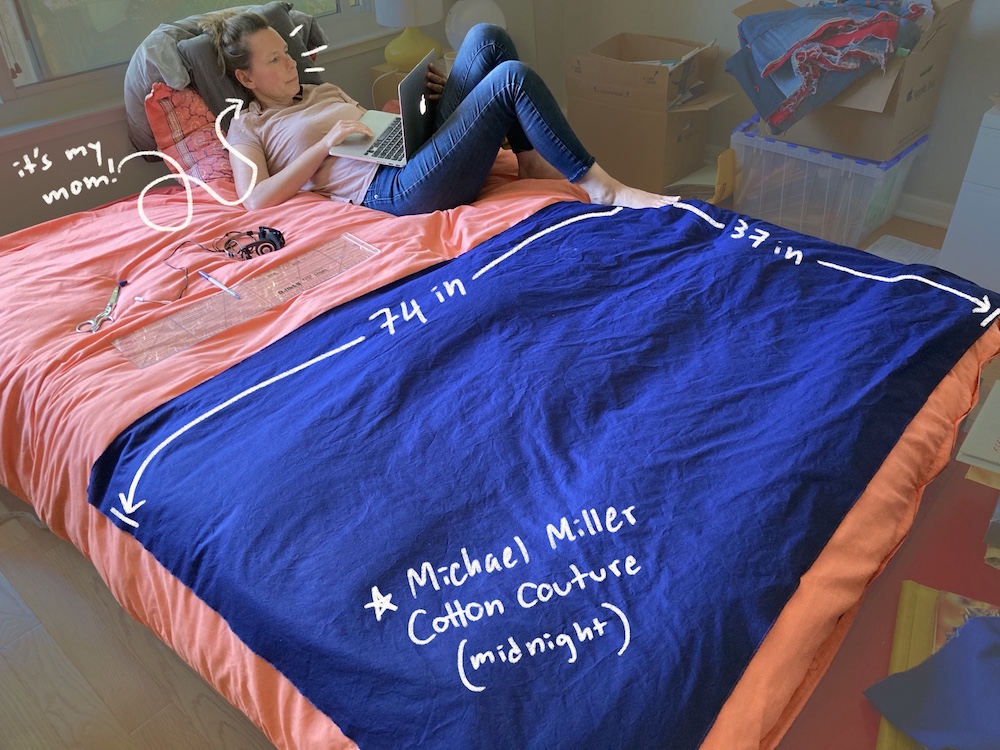
For the fabric, I went with 3 1/2 yards Michael Miller Cotton Couture in the color "Midnight". I was hoping for a fabric with more of a sheen to it, but my local fabric store has a garbage selection and I'm not well-enough versed in fabric types to know what to look for online. That said, the Cotton Couture is a good quality fabric and I'm sure it will work fine. I washed the fabric and cut it to 74 x 37 inches.
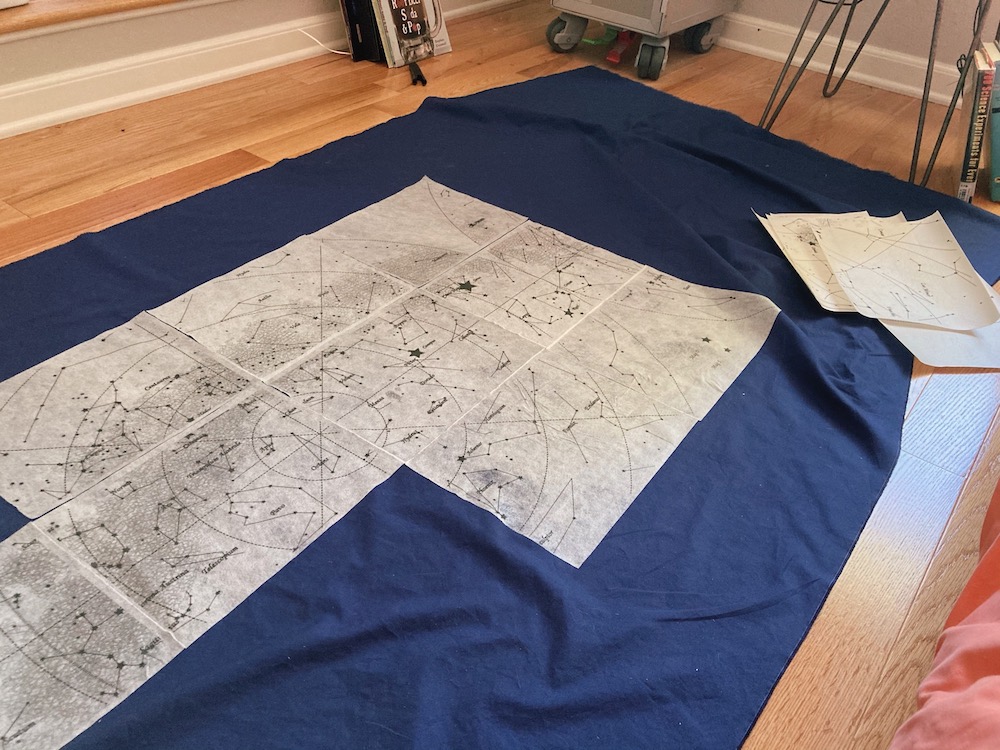
At this point I was able to start sticking the stabilizer down on the cloth. Unfortunately, the sheets were printed crooked and with an unavoidable margin. This made it slightly frusturating to line the pages up, but in the end I got them all more or less in the right place.
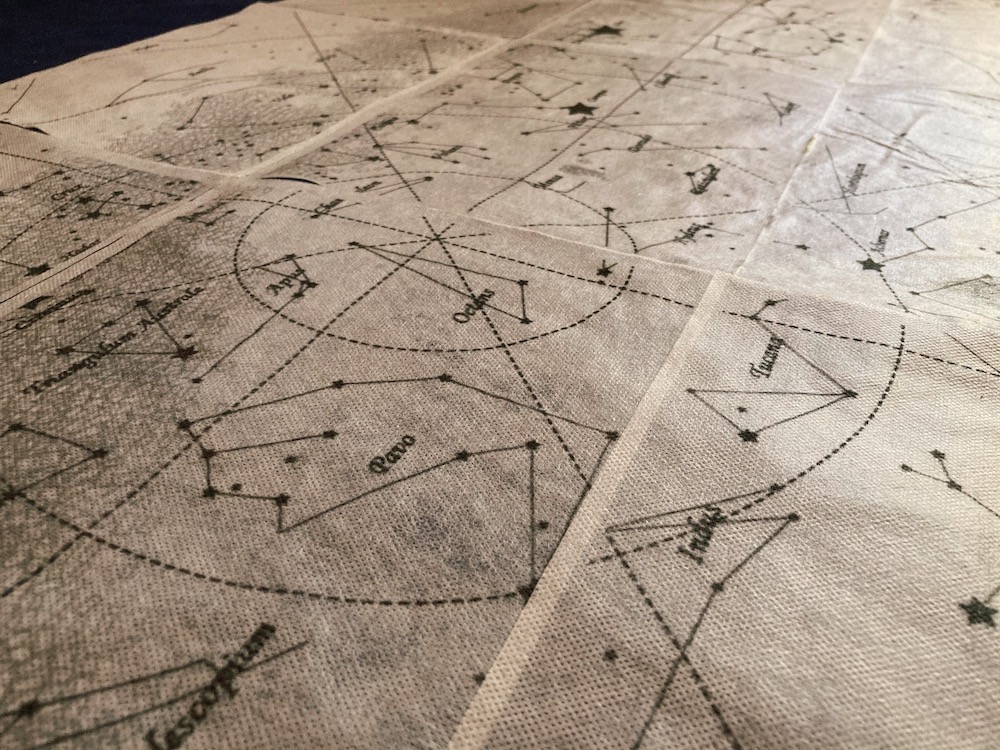
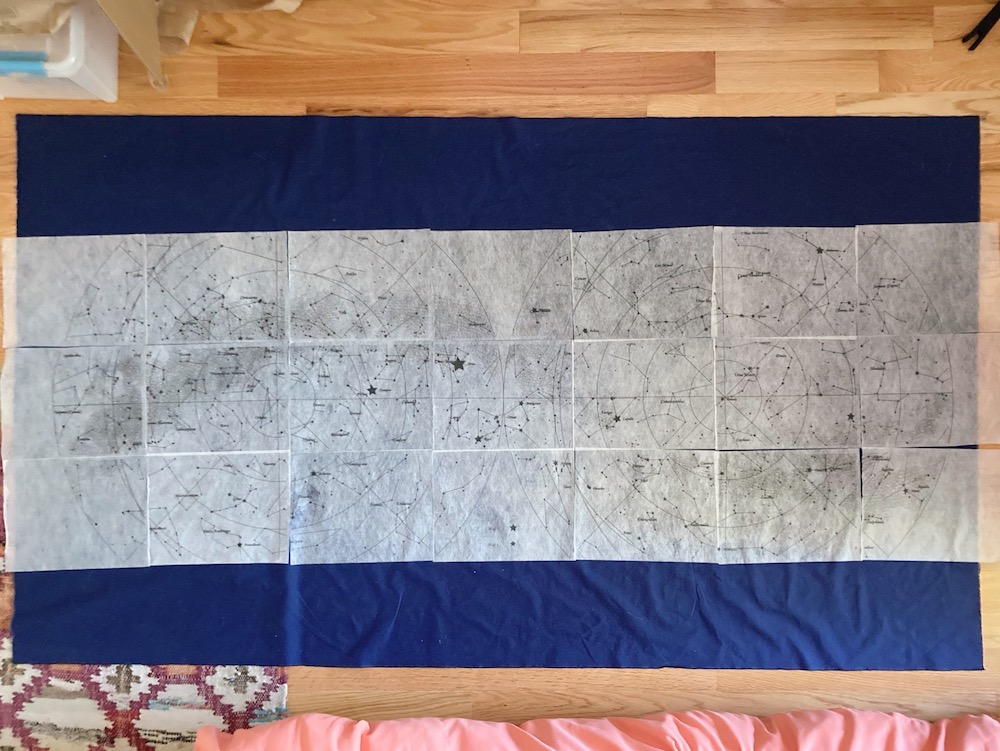
This is the resulting embroidery design. I ran out of Sulky, so I left off the top and bottom rows of the design (which were mainly blank space anyway). I'll have to add them on later when I replenish my Sulky stock. The design is a little crooked as you can see in the photo, but I don't care enough to redo it.
The next step will be the embroidery, so I'll see you then!